

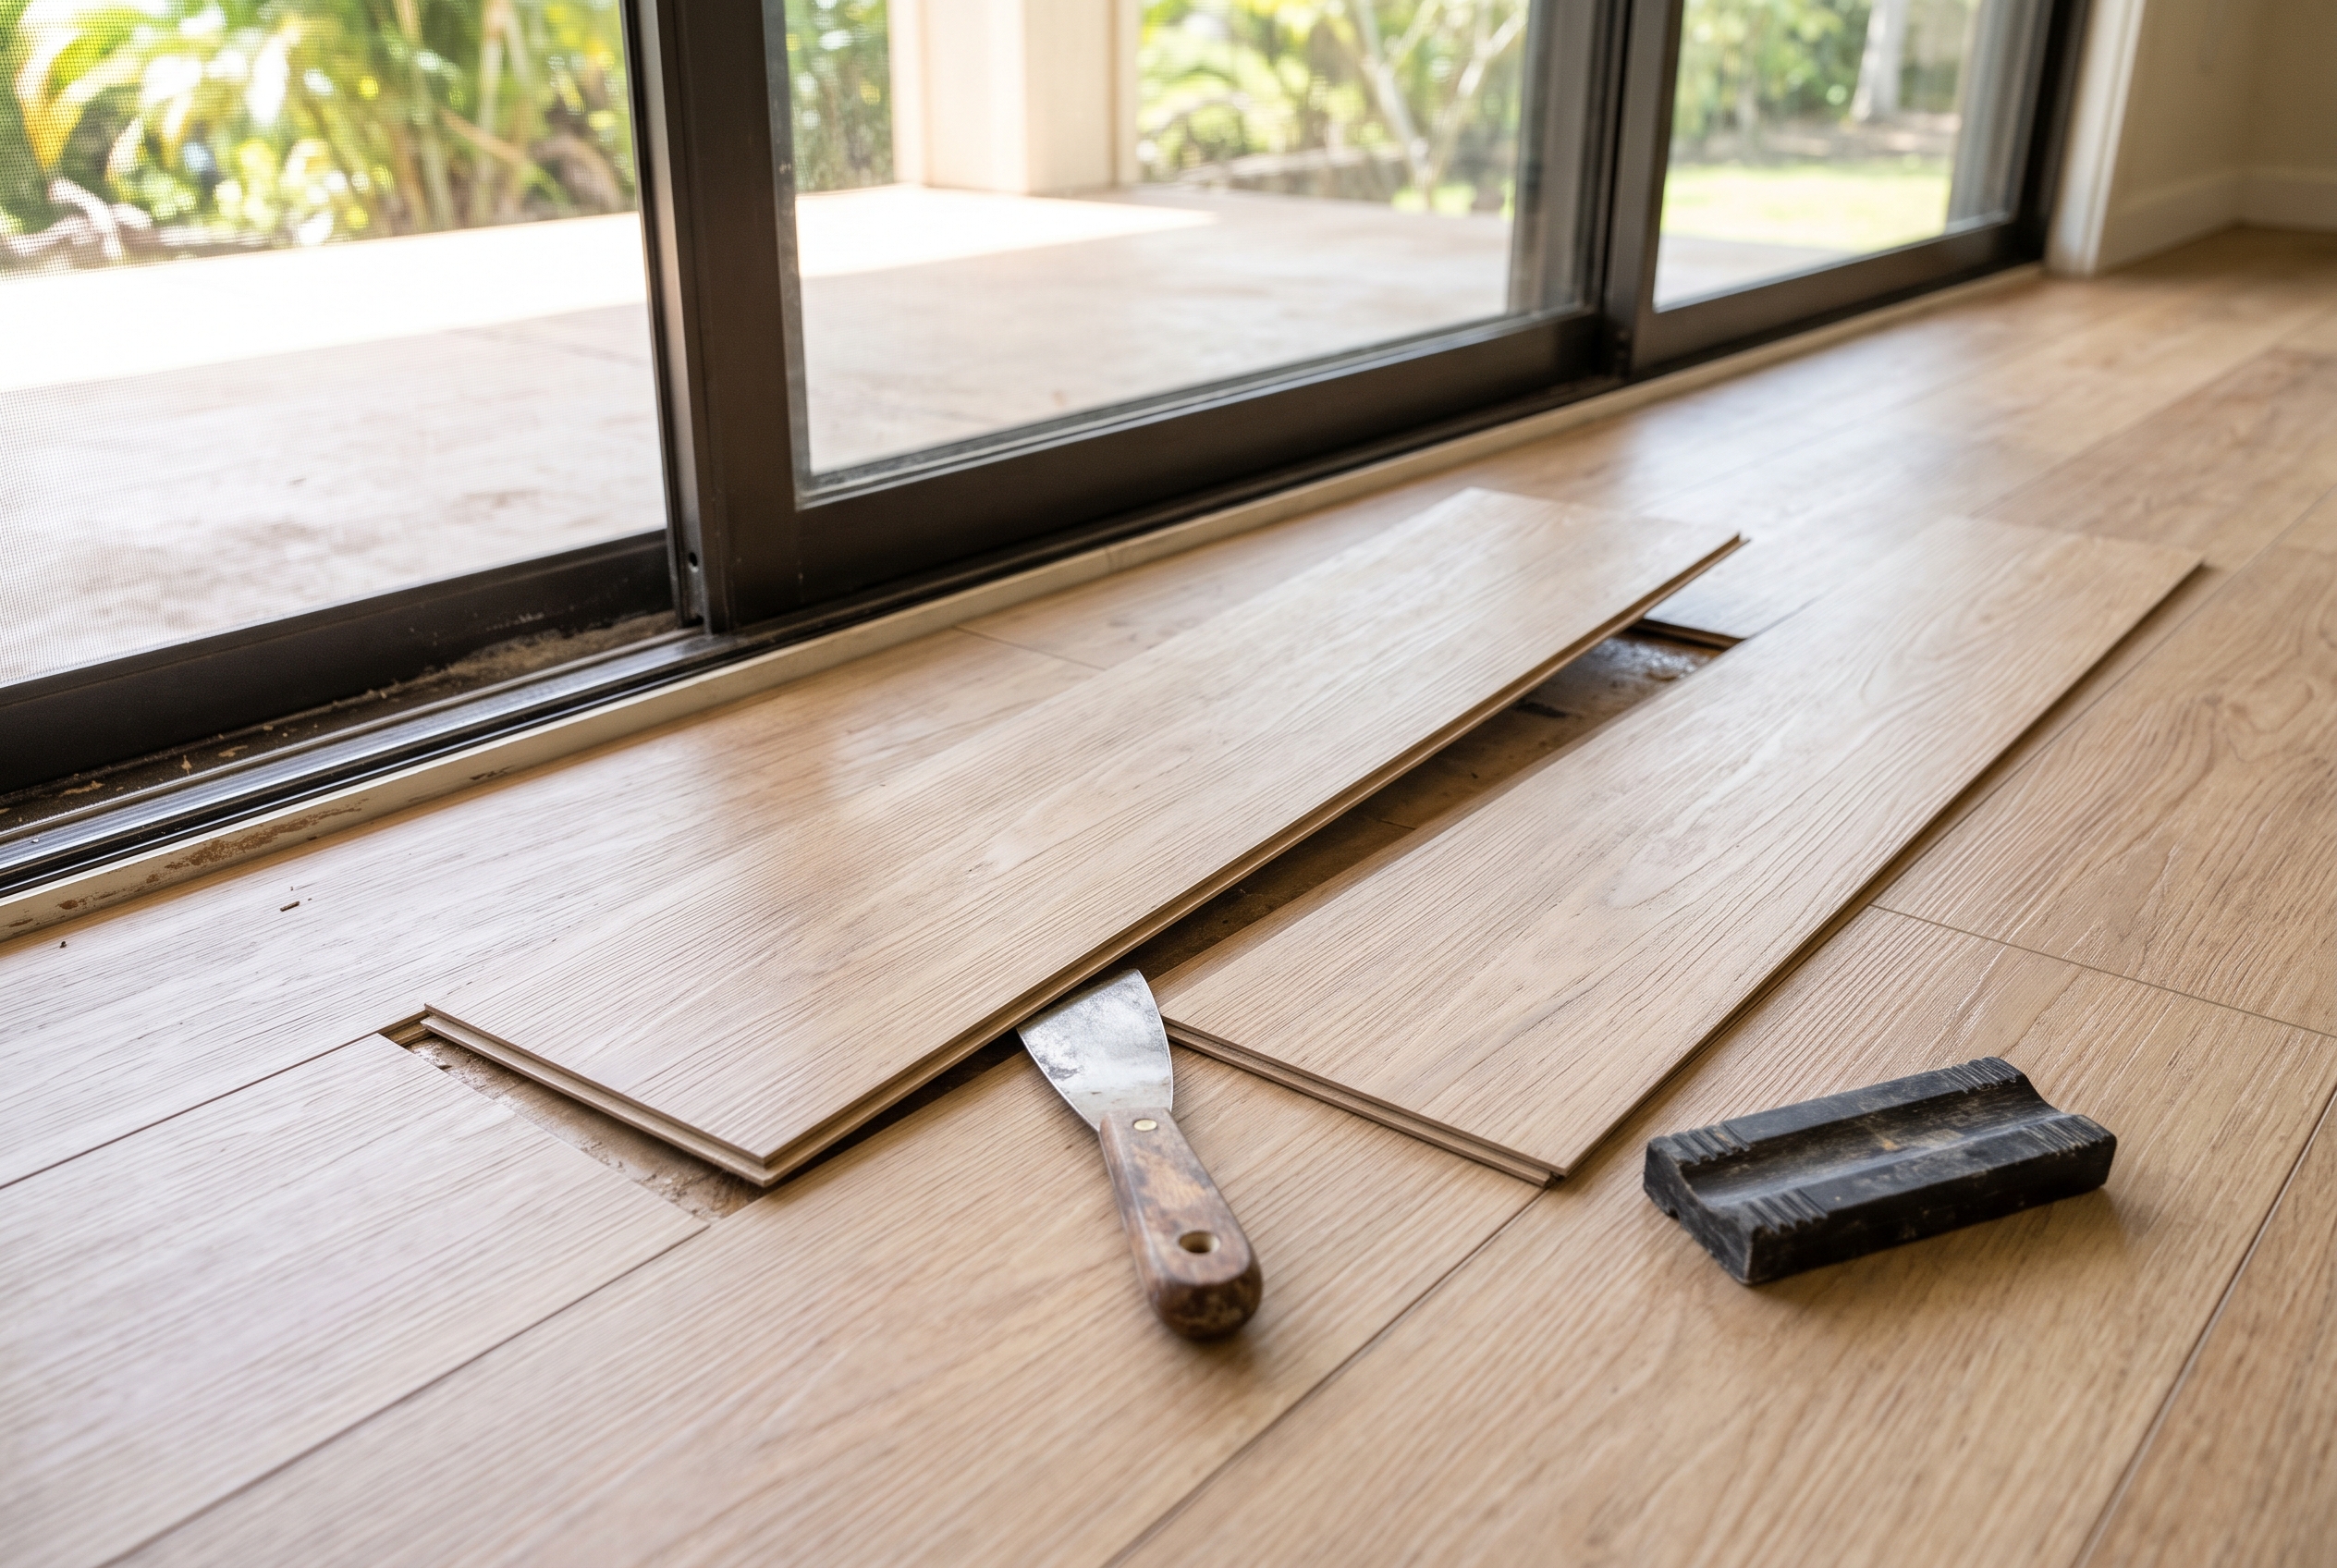
Vinyl plank and laminate floors are repaired one plank at a time, because neither can be sanded and refinished the way wood can. Light scratches take a touch-up, and a plank that is gouged, cracked or swollen is swapped for a spare. How the floor is held down changes the swap. A glued plank is warmed and lifted out on its own. A click floor is unlocked from the nearest wall, or the bad plank is cut out and a trimmed one set in.
Damage | On vinyl plank | On laminate |
|---|---|---|
Scuffs and light scratches | Rub off, or touch up with a vinyl color-fill kit | Rub off, or touch up with color-matched filler or a wax pencil |
Deep scratch, gouge or burn | Replace the plank | Fill a small chip; replace a plank that is cut through |
Dent from a heavy, narrow leg | Can stay in flexible vinyl; replace the plank if it shows | Stays; fill it or replace the plank |
Water on the surface | Wipe it up; the plank is unharmed | Wipe it up fast; swollen seams stay swollen |
Water under the floor | Lift the planks, dry the subfloor, relay them | Dry the subfloor and replace swollen planks |
Hollow or clicking spot | Fill the dip under it, or reglue a glued plank | Take up the rows and fill the dip under it |
How to Tell What Kind of Plank Floor You Have
Every repair starts with knowing what kind of plank floor you have, because a fix that suits one kind can ruin another. Heat is a tool on glue-down vinyl and a hazard on click planks, and only laminate swells when water reaches its seams. What the plank is made of and how it is held down settle the question.
Floor | How to recognize it | How a plank comes out |
|---|---|---|
Rigid core click vinyl | Stiff plank, dense core, often a pad on the back; locks to its neighbors | Unlock rows from the nearest wall, or cut it out |
Flexible glue-down vinyl | Thin plank that bends; bonded to the floor; no locking edges | Warm it, lift it, clear the adhesive, reglue |
Loose lay vinyl | Heavy, flexible plank lying flat with no locks | Lift it out and press a new one in |
Click laminate | Wood-fiber core, printed photo layer, hard clear top; locks to its neighbors | Unlock rows from the nearest wall, or cut it out |
The quickest way to tell is to look at a spare plank, a cut edge at a doorway or the label on a leftover carton. In short, floating planks lock together or lie flat on the subfloor, while glue-down planks are bonded to it. A floating floor also leaves a small gap at every wall, hidden under the baseboard or quarter round.
Fixing Scratches and Scuffs
Most scratches on vinyl plank and laminate sit in the clear top layer, and the fix is a touch-up. Neither floor can be sanded, because the wood or stone look is a printed layer under that clear coat, and sanding cuts straight through it.
On vinyl plank, the wear layer is the clear top coat that takes every hit. It is measured in mils, and a thicker one keeps its looks longer.
Start with the marks that are not scratches at all. Black scuffs from shoes and furniture often rub off with a soft pencil eraser or a tennis ball worked along the plank. A damp mop finishes the job.
Fine scratches by a lanai door or an entry are usually sand, carried in on bare feet and ground into the surface. A fine scratch you can see but barely feel can be left alone or touched up.
On laminate, a color-matched filler or a wax repair pencil fills the line and hides its white edge. On vinyl, a color-fill repair kit does the same for small marks. Small damage like this is a do-it-yourself job, and a plank that is cut through is a replacement.
A deeper scratch, one that cuts into the printed layer, shows as a light line from every angle. No filler hides it well, so that plank is replaced. Textured and matte surfaces hide fine scratches far better than smooth, glossy ones, which helps when a single new plank sits among older ones.
A white film is a different problem. Hard water, pool water and salt spray leave mineral residue that looks like dull scratches. A pH-neutral cleaner on a damp microfiber mop lifts it, while soap leaves a film of its own.
Chips, Gouges, Dents and Burns
Chips, gouges, dents and burns go deeper than the clear coat, so most of them end with a new plank. The exception is a small chip at the edge of a laminate plank, which fills well and disappears from standing height. A gouge or a burn in vinyl tears or melts the printed layer, and that plank is swapped.
To fill a laminate chip, clean out loose bits and dust first. Press color-matched laminate filler into the chip, level it with a plastic scraper or putty knife, and wipe the surrounding surface clean before it sets. Let it cure fully before anyone walks on it. A blend of two filler colors usually matches a wood-look plank better than one.
Dents come from weight on a small point, such as a table leg, a dropped pan or a narrow heel. Flexible glue-down vinyl can hold a dent from a heavy leg, and laminate keeps any dent its surface takes. Castor cups and wide, non-staining protectors spread that weight before it ever leaves a mark.
A burn from a candle, a curling iron or a dropped match is permanent on both floors. The plank comes out, and the repair is the same plank swap that fixes a deep gouge.
Water Damage on Laminate and Vinyl Plank
What water does to a plank floor depends on its core. Laminate has a core of high-density fiberboard, which swells where water soaks in at the seams and stays swollen. Vinyl plank has a vinyl or stone-plastic core that water does not swell. Water that gets under any floor, though, sits on the subfloor with nowhere to go.
Stop the water at its source, whether a dishwasher line, the refrigerator's ice maker line, washer hoses, a toilet or a sink trap.
Mop up what is on the surface and wipe the seams dry.
Run fans, the air conditioning or a dehumidifier to dry the room.
If water ran under the floor, take up the planks around the source so the subfloor can dry.
Take photos, and set aside one damaged plank with its carton label before anything is thrown away.
A house left empty is where a small leak turns into a large repair. Shutting off the main water valve before a long trip removes most of that risk.
Swollen Laminate Planks
Swollen laminate edges do not go back down. The fiberboard core takes up water at the joints, rises into a ridge or a puffed seam, and stays that way after it dries. The fix is to dry the subfloor and replace the swollen planks, reached from the nearest wall or cut out in place. Planks under a dishwasher or refrigerator are reached by pulling the appliance out first.
Water protection on laminate means protection from spills on the surface. Mannington's SpillShield Plus warranty on its Restoration Collection covers topical spills wiped up within a reasonable time. It leaves out flood water, large plumbing leaks and moisture trapped under the floor. The water protection on Nearwood and TheBLVD is described the same way, as protection from spills and splashes on top.
Water Under a Vinyl Plank Floor
A vinyl plank floor that had water run under it usually comes up so the subfloor can dry, even when the planks themselves are fine. Karndean says its rigid core planks will not absorb water, swell or be damaged by it. The subfloor is another matter, because concrete or wood left wet under a sealed floor grows mold and starts to smell.
Take off the trim along the wall nearest the wet area.
Unlock the rows one at a time and stack them in order, numbering their backs with tape.
Dry the slab or subfloor completely with fans and a dehumidifier until a moisture meter reads dry.
Clean any mold or musty spots before the floor goes back.
Relay the planks whose locks are sound, and replace any with cracked or bent edges.
A glue-down floor is different, because its planks are bonded in place. Where water loosened the adhesive, the planks lift at the edges or sound hollow. Each one is lifted, cleaned and reglued like any glued plank swap. Water that keeps coming back with no leak to blame may be rising through a concrete slab, and a slab like that needs a moisture test before any floor goes back down.
Gaps Between Planks
Gaps that open at the short ends of click planks mean the joints have pulled apart. The usual causes are heat, which swells and shrinks a floating floor, and a floor pinned somewhere so it cannot move as one piece. Most gaps close again by tapping the planks back together.
Work from the end of the row where the gap is widest. Set a scrap of the same flooring against the plank's edge so its locking profile meshes, and tap the scrap with a tapping block until the joint closes. Close each gap along the row in turn. A plank whose locking edge has cracked will not hold a tapped joint, and it is replaced.
Sun through big windows and lanai sliders is the most common reason planks move in island homes. Long, direct sun heats a floating floor until it expands, and enough heat makes it buckle. Karndean asks for a wider gap at the walls, at least 3/8 inch, for its rigid core floors in rooms where sun pours through glass doors.
Blinds or shades during the hours of strongest sun keep the planks cooler and the joints tighter. A floor that keeps opening in one sunny room may also need its edges checked. With no room to move, it pulls its joints apart as it cools.
Peaking, Buckling and Lifting Planks
Peaking seams that rise into a ridge, or a floor buckling and lifting across a room, have run out of room to move. A floating floor needs a gap at every wall and must never be fastened down. When something pins it, the expansion has nowhere to go but up. Find the pin and free it, and the floor often settles back on its own.
What you see | Likely cause | The fix |
|---|---|---|
A ridge near cabinets or an island | Cabinets or an island set on top of the floor | Cut the floor back from the cabinet base and leave a gap |
Peaks along a wall | Gap too small, or trim nailed through the floor | Free the trim, cut the gap back, fasten trim to the wall |
A buckle at a doorway | A transition screwed through the floor, or a tight door jamb | Refit the transition so the floor floats; undercut the jamb |
Bowing across a sunny room | Heat expansion with too little gap | Free the edges, shade the windows, relay bent planks |
Raised, swollen seams in laminate | Water at the joints | Replace the swollen planks |
Edges lifting on glue-down vinyl | Adhesive let go from water or heat | Lift and reglue the plank, or replace it |
Planks that stay bent after the floor is freed are relaid or replaced. The causes are worth keeping out of the next floor too: nothing built on top of a floating floor, and no trim, transition or fastener driven through it.
Clicking, Hollow or Bouncy Spots
Clicking, creaking or a hollow, bouncy spot in a floating floor usually means the planks are bridging a dip or riding on debris, or one joint never fully locked. Rigid core and glue-down vinyl both call for a subfloor flat within about 3/16 inch over 10 feet. A dip deeper than that lets the planks flex each time someone steps on them.
The cure is underneath the floor. The rows are taken up to the spot, and a straightedge laid across the bare subfloor shows the dip or the bump. A dip is filled with patch and a bump is sanded or ground down. Grit, a stray screw or a lump of old adhesive under the pad is cleared away, and the planks are relocked.
A joint that never fully locked is tapped closed the way a gap is. On a glue-down floor, a hollow sound means the plank has let go of its adhesive in that spot. Lifting and regluing it puts it back in full contact with the floor.
Replacing a Single Damaged Plank
Replacing one plank is the central vinyl and laminate repair, and the method follows how the floor is held down. A loose lay plank simply lifts out, and a new one is pressed into its place. If the floor was laid on a grip adhesive, the new plank gets a fresh coat. Glue-down and click planks each have their own steps.
Replacing a Glue-Down Vinyl Plank
Mannington's repair steps for ADURA Flex, its glue-down vinyl, show how a glued plank comes out without harming its neighbors. The same order works for any glue-down vinyl plank, with the adhesive made for that floor.
Warm the damaged plank gently with a hot air blower until it turns flexible.
Slide a thin, 2-inch putty knife into a seam and lift the plank, cutting it into smaller pieces if that helps.
Scrape away lumps of old adhesive so nothing lifts the new plank.
Spread a thin coat of adhesive on the back of the new plank with a finely notched trowel, using less where old adhesive remains on the floor.
Wait for the adhesive to turn tacky, typically about 15 minutes, then set the plank in place.
Roll it with a hand roller and weight it for several hours while the adhesive sets.
Too much adhesive leaves the new plank sitting proud of its neighbors, which is the most common way a glued repair shows. Gentle heat matters too: enough to soften the damaged plank, never so much that it scorches the face or softens the planks around it.
Replacing a Click Plank Near a Wall
A click plank within a few rows of a wall is easiest to reach by taking the floor apart up to it. Click planks unlock without damage when they are lifted the right way. The rows come up whole and go back as they were, with only the damaged plank changed.
Take off the baseboard or quarter round along the nearest wall.
Lift the first row at an angle to release its long edge, and set it aside whole.
Separate the planks in each row by lifting directly under the short end seam.
Number the backs with tape as they come out, so each goes back where it was.
Swap the damaged plank for a new one and relock the rows in reverse order.
Refasten the trim to the wall, never down into the floor.
The method works the same on click vinyl and laminate. Start from whichever wall is closest to the damage, which in a long room may be a short end wall.
Replacing a Click Plank in the Middle of a Room
A plank in the middle of a room would mean taking up half the floor, so it is cut out where it lies. The ADURA Apex guide gives the method, and it suits any rigid click plank.
Cut in from each corner of the damaged plank toward the middle, so the edges can be pulled away.
Cut out the center with a circular saw or multi-tool, leaving a strip about an inch wide along every edge.
Wiggle the edge strips out of the neighboring planks' joints without damaging them.
Trim the new plank: cut the tongue off its long side and its end, and cut away the bottom of the groove on its short end at an angle.
Test the fit, then hinge the new plank in by engaging its groove with the neighbor's tongue.
Lift the trimmed side, run a thin bead of the seam sealer the guide names along the three open seams, and press the plank down.
Wipe off any sealer on the surface, roll the plank and weight it for at least 15 minutes.
The sealer bonds the new plank to its neighbors and never to the subfloor, so the floor still floats as one piece. Laminate is repaired the same way, with a PVA flooring glue in the trimmed joint where its guide calls for one. Cutting a plank out cleanly takes a steady hand, and a slipped saw marks the planks around it, so this is the repair most often hired out.
Finding a Matching Plank
The best replacement plank is a spare from the original cartons, set aside when the floor went in. A spare from the same run matches the color, sheen and print. Two or three spare planks per room are worth far more than the closet space they take.
Store spares flat, in their sealed packaging, somewhere indoors that stays at room temperature. A hot garage or shed is the wrong place for them, since a spare should live in the same conditions as the floor it will join.
Without a spare, the carton label is the next best thing. It names the line and color and usually the run or batch, so the same plank can be ordered while it is still made. A plank from a newer batch can differ slightly, so it goes where it shows least.
When nothing matches, a plank can be borrowed from a closet, from under the refrigerator or from another hidden spot, and the closet gets the near match. For a discontinued color, the choices are a close match in a low-traffic spot or a new floor in that room up to a doorway.
When It Is Time to Replace the Floor Instead
Replacing the floor makes more sense than repairing it once damage covers more than a few planks in a room. At that point the planks and labor approach the cost of redoing the room, and a patchwork of old and new shows. A working rule is to price the repair and the room side by side, and choose the room once the two come close.
The print has worn through in the traffic paths.
Water spread under a large area of laminate and swelled many seams.
The floor keeps peaking or opening because of how it was laid.
Matching planks are gone and the damage sits in plain view.
The floor is near the end of its life anyway.
Room-by-room replacement works well, with a transition at each doorway, so the rest of the house keeps its floor. It also spreads the cost over time.
Preventing the Damage That Leads to Repairs
Most vinyl and laminate repairs start with grit, rubber or weight on a small point, and each of those has a simple guard. A few habits, most of them a one-time purchase, keep a plank floor out of the repair list for years.
Mats inside every outside door to catch sand before it reaches the planks. Choose a backing labeled non-staining, since rubber, latex and cocoa backings can discolor vinyl.
Felt pads under chair and table legs, replaced when they pick up grit.
Castor cups or wide, non-staining protectors under heavy furniture.
A chair mat under rolling office chairs.
Oil and asphalt driveway sealer kept off vinyl, since both can stain the surface.
Spills wiped up quickly on laminate, before water reaches the seams.
For routine cleaning, the Shaw hard surface mop kit we sell pairs microfiber pads with a cleaner that is safe on vinyl and laminate. A dry pass picks up the grit, and a damp pass with the cleaner leaves no film.
Vinyl and Laminate Repairs With Us
At Floor Expert LLC, we repair hard surface floors, vinyl plank and laminate among them. We work from our showroom on Maiau Street in Kailua-Kona in homes from Waimea and Waikoloa down the coast to Kealakekua, Captain Cook and Ocean View. Flooring repairs, flood service and subfloor repair are all services we offer.
For replacement planks and new floors, we sell luxury vinyl from Karndean, Mannington and other brands. Among them are rigid core Korlok and ADURA Apex, glue-down Art Select, Da Vinci and ADURA Flex, and Looselay.
Laminate from Mannington, Gaia and Urban Floor rounds out the planks we carry for repairs and new floors. Floating vinyl plank and laminate are both covered by the CFI certification our installers hold. Before any plank comes up, we see the floor and price the repair at no charge.
More Questions About Vinyl Plank and Laminate Repairs
Can You Repair Vinyl Plank or Laminate Yourself?
Yes, you can repair vinyl plank or laminate yourself when the damage stays on the surface or near a wall. Rubbing off scuffs, touching up light scratches and filling a small chip in laminate are easy jobs. Swapping a click plank within a few rows of a wall takes only ordinary tools.
The harder repairs are the ones where a slip shows. More tools and practice go into cutting a plank out mid-room, regluing a glue-down plank so it sits flush, and drying a floor that had water under it. The usual mistakes are a cracked locking edge from forcing a joint and a glued plank left high by too much adhesive.
Can You Replace the Floor in Just One Room?
Yes, when the room ends at a doorway or another natural break where a transition can sit. If the same line and color is still made, the new floor can match the rest of the house closely, with the transition marking the break.
If it is not, a deliberate change of floor at the doorway looks better than a near match that almost works. A floating floor in the next room keeps its own gap at the doorway, so each floor moves on its own.
Can a Plank Be Replaced Without Taking Off the Baseboards?
Yes, the baseboards can stay for a glue-down plank and for a click plank cut out in the middle of a room. Both come out without touching the trim, because neither repair has to lift a row away from the wall.
A click plank reached by unlocking rows needs the trim off along that one wall, since the first row has to lift free. Only that wall's trim comes off, and it goes back on the same day.
How Long a Plank Replacement Takes
Most plank replacements take an hour or two of work, and how long the whole repair lasts depends on what holds the plank down. A glued plank then sits under weight for several hours while its adhesive sets, and a click plank sealed in mid-room needs about 15 minutes under weight.
Water damage takes longest, because the subfloor has to dry before any plank goes back, which can take days. The national estimates behind the cost figures allow about 1.4 to 2.1 labor hours to lay 25 square feet of new vinyl or laminate. That is a fair guide to a small repair.
Can You Use Wood Filler on Laminate?
No. Wood filler is made to soak into and bond with raw wood, and laminate's surface is a hard, printed layer it cannot grip or match. A color-matched laminate filler or a wax repair stick is the product for a chip in laminate.
On vinyl, a color-fill kit made for vinyl does the same job. Either way, a filled chip hides at standing height but not up close. A chip in the middle of a busy room may still be worth a new plank.
Get a Damaged Plank Looked At
A damaged plank is easier to judge in person than in a photo, because the kind of floor and the way it is held down set the repair. We come out, see what kind of floor it is and price the plank swap or repair, with no charge for the visit.


