

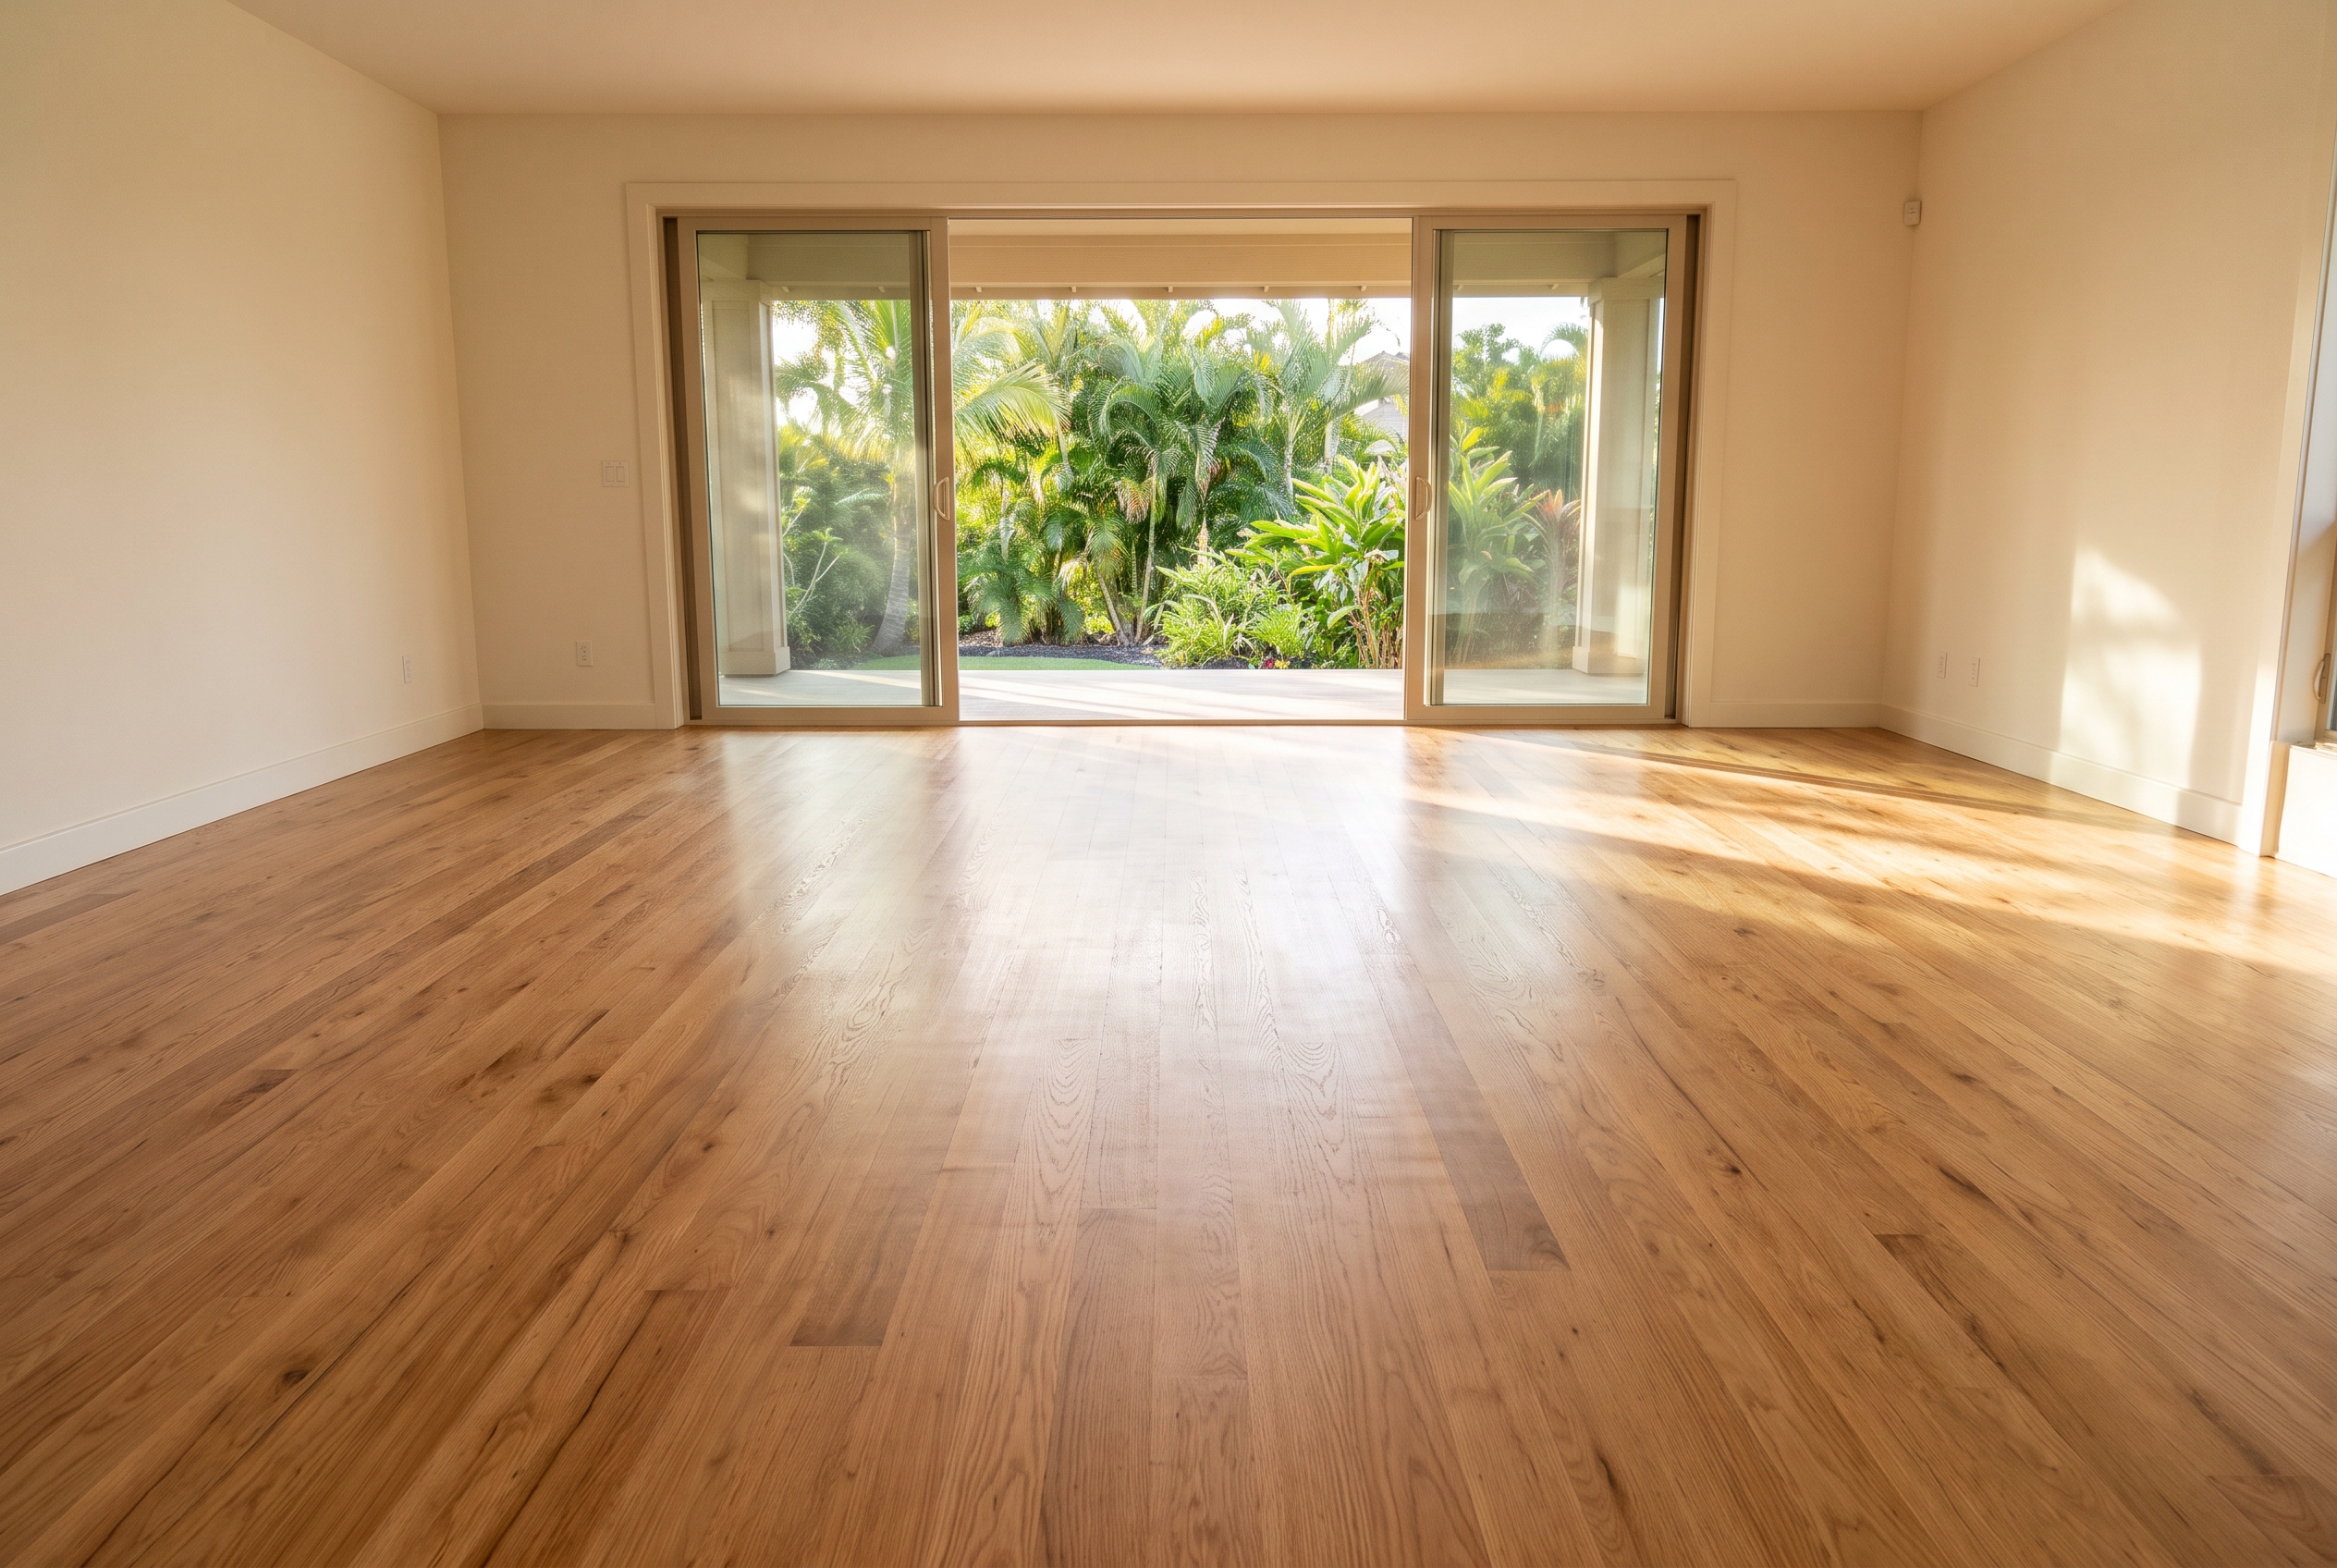
Refinishing a hardwood floor means sanding it back to clean, bare wood and building fresh coats of finish on top. In most homes the job takes three to five days, from the first pass of the sander to the furniture going back. When the finish is only dull and nothing has scratched into the wood, a screen and recoat renews it in about a day. It takes no wood off at all.
What your floor shows | What it needs | Time out of the room |
|---|---|---|
Dull finish, scratches only in the finish | Screen and recoat | About a day, then overnight |
Scratches in the wood, gray traffic paths | Full sand and refinish | Three to five days |
A color you want to change | Full sanding, stain and finish | Add about a day |
Engineered boards, top layer unknown | Measure before anyone sands | Depends on the answer |
Black stains, cupped or loose boards | Repairs first, then refinishing | Repair time plus the refinish |
Screen and Recoat or a Full Sand and Refinish
The line between a recoat and a full sanding is bare wood. While finish still covers every board, even in the hallway and in front of the sink, a recoat can renew the floor. Once scratches cut into the wood, or traffic has worn it gray, only sanding reaches the damage.
A screen and recoat leaves the wood alone. A buffer with a fine abrasive screen scuffs the old finish so the new coat can grip, and one or two fresh coats go on top. Because no wood comes off, you can recoat a floor again and again over its life.
A full sand and refinish takes off the old finish and a thin layer of wood. A large sander works through finer and finer abrasives until the floor is smooth and flat. That removes scratches in the wood and evens out wear, and it is the only way to change the color, because stain only takes on bare wood.
The National Wood Flooring Association (NWFA) calls a recoat a maintenance coat. It recommends a complete sand and refinish for deep scratches and dents, and for finish worn away to bare wood.
A recoat also needs a clean surface to bond to. Wax, shine products and oil soaps leave a film that new finish will not stick to, so a floor that has had them usually goes straight to a full sanding.
Quick Tests That Show What Your Floor Needs
A few quick tests at home tell you whether your floor needs a recoat or a full sanding, before anyone comes to look. Each one takes a minute or two, and together they show whether the finish is intact, worn through or carrying old wax.
Run a fingernail across the worst scratches. If the nail slides over them, they are in the finish. If it catches, they reach the wood.
Put a few drops of water on a worn spot and on a protected spot, such as under a sofa. Beading water is sitting on intact finish. Water that darkens the wood or soaks in has found bare wood, or a worn oil or wax finish.
Check the traffic paths, the floor in front of the kitchen sink and the doorways. Gray or dark wood there means the finish is gone.
Rub a hidden corner with a white cloth dampened with mineral spirits. A yellow or brown smear is old wax, and wax rules out a recoat.
Before any recoat, test a little finish in a closet or corner. Press tape onto it the next day and pull it off. If the new coat lifts with the tape, the floor needs a full sanding or a bonding treatment.
Many floors give mixed answers, such as a living room with a few deep scratches by the door and a sound finish everywhere else. Then you are deciding whether those scratches bother you enough to sand the whole room for them.
Can Your Floor Be Sanded?
Yes, if there is enough wood above the tongue of each board. A solid hardwood floor usually has several sandings in it. An engineered floor can be sanded only when its top layer of real wood is thick enough. Laminate and vinyl cannot be sanded at all, because their surface is a printed layer under a clear coat.
Every full sanding takes a little wood off, so the question is how much is left. A solid floor usually has four to six sandings in it over its life, and a thin engineered one may have none. Aggressive sanding uses that up faster, and so does sanding a floor flat while it is cupped. When nail heads start to show along the edges of the boards, little wood is left above the tongue.
The floor itself changes how much each sanding removes. A flat floor in good condition loses very little. An uneven one has to be cut down further to come out flat, and the skill behind the sander matters as much as the machine.
Before anything is sanded, we check the species and whether the floor was finished at the factory or in place. We also look for nails through the face of the boards and gauge how much wood is left above the tongue. Together those tell us whether your floor takes a full sanding, a light one or only a recoat.
Engineered Hardwood and Its Top Layer
An engineered floor can be sanded when its top layer of real wood is about 2 to 2.5 millimeters thick or more, a little under a tenth of an inch. Thinner than that, a screen and recoat renews the floor, and a damaged board gets replaced.
The authorities draw that line slightly differently. The NWFA's sanding guidelines say that, in general, a floor with under 2.5 millimeters of wear layer should not be sanded. One of the hardwood brands we carry, Hallmark Floors, allows one or two light sandings on a 2-millimeter layer of its floors, with great care. On its floors a 4-millimeter layer can take several sandings, and 1 millimeter or less takes only a recoat. Measure yours, and let the maker's specification for your line settle a close call.
To find your number, pull up a floor register and look at the cut edge of a board. A board end at a doorway or at the top of the stairs works too. The top layer is the band of solid wood above the plywood-like layers, and a ruler with millimeter marks reads it. The carton, the spec sheet or the maker's page for your line also lists it, usually as the wear layer.
A wire-brushed or hand-scraped surface loses its texture when it is sanded flat, so a textured engineered floor is usually recoated. The NWFA's Engineered Refinishable label marks engineered floors made to be sanded. On a smooth, factory-finished board, that means a top layer of at least 2.5 millimeters.
Recoating or Sanding a Factory-Finished Floor
A factory-finished floor can be fully sanded once the sander cuts through its coating, but a recoat over that coating takes special preparation. Most prefinished floors leave the factory with a very hard finish, often with aluminum oxide in it, and that is what makes them so scratch resistant.
That hardness also makes the coating slick and hard to scuff, so a new coat has little to grip. Chemical bonding systems are sold for these floors. A recoat uses one maker's complete system, cleaner, bonding agent and finish together, after a test patch shows it holds. A few factory finishes cannot be recoated at all, so those floors are sanded or left as they are.
Factory boards also have small beveled edges along each side. The grooves stay through a recoat and often through a full sanding, so a prefinished floor usually keeps its plank-by-plank look after refinishing.
What Sanding Will Not Fix
Sanding renews the surface of a floor, so damage that runs deeper than a sander reaches is repaired before the floor is refinished. Repairs go first so the new boards are sanded and finished along with the rest of the floor and blend in with the old ones.
Black or gray stains from water or pets go deeper than a sander can follow. Water sitting on oak turns it black, and pet urine does the same. A bleach treatment lightens some spots, and a new board is the sure fix.
Gouges that pass through the top layer are filled when they are small. Deep ones, and any in a thin engineered floor, call for a new board.
Cupped boards, with edges higher than their middles, took on moisture from underneath. The source is fixed and the wood left to dry, and sanding waits until moisture readings at the surface and deeper in the boards agree. Sand a cupped floor too early and it crowns, higher in the middle, once it dries.
Gaps that open in dry weeks and close in humid ones are left alone. Gaps that stay open all year are filled, or the boards are reworked first.
Loose and squeaky boards are fastened down before sanding. A soft spot means the subfloor or framing needs repair, sometimes after a leak and sometimes after termites, which are treated before any wood is replaced.
Nails and staples at the surface are set below it, so they do not tear the sanding belts.
Getting Your Home Ready for Refinishing
Getting your home ready for refinishing mostly means emptying the rooms and making a few decisions early. A sander needs bare floor from wall to wall, and the finishing schedule depends on the color and sheen, so settle both before the crew arrives.
Move everything off the floor: furniture, rugs, floor lamps, plants and curtains that touch the floor. Empty any closets that are part of the job.
Take down wall art and fragile things on nearby shelves, because a big sander shakes the room.
Choose the stain color and sheen a week or so ahead. Stain samples need bare wood, and the drying days depend on the finish.
Plan the kitchen and bathrooms. If the kitchen floor is being done, the refrigerator and range come out, and the room stays off limits until the finish takes traffic.
Plan for people and pets. Sanding is loud and finish smells, so pets, babies and anyone with asthma do better elsewhere on those days.
Keep a way out. Each room is finished from the far wall toward a door, so the crew needs a path that does not cross wet finish.
Your baseboards usually stay put, and only the thin shoe molding or quarter round along the bottom comes off before sanding and goes back afterwards. The baseboard itself may need a touch of paint where the edger brushed it.
Turn off the air conditioning, ceiling fans and forced-air vents during sanding and finishing, so dust does not blow onto wet finish. With an oil-based finish, put out every open flame in the house too, gas pilot lights included, because the vapors are combustible. If moving the furniture is more than you want to take on, our crews handle furniture removal as well.
Hardwood Floor Refinishing, Day by Day
Expect the sander to fill most of the first day of a hardwood floor refinishing job, along with the loudest noise and most of the dust. A stain, if you chose one, takes a day of its own to dry. The coats of finish follow, a day or two with a water-based finish and longer with an oil-based one.
Setup. The crew seals the work rooms with plastic over doorways and vents and sets any raised nails.
The first sanding pass. A large belt or drum sander takes off the old finish with a coarse abrasive. It runs with the grain, or at a slight angle on an uneven floor.
Edges and corners. A smaller edger sands along the walls. Corners and spots the machines cannot reach are scraped or sanded by hand.
Filling. Nail holes and small cracks are filled with wood filler, sometimes troweled across the whole floor.
Finer passes. The sander and edger go over the floor again with finer abrasives. Each pass removes the scratches the last one left.
Buffing. A buffer or multi-disc sander blends the marks between the big machine and the edger. This matters most under stain, where every scratch shows.
Cleaning. The floor is vacuumed and wiped with a tack cloth until no dust is left, because dust trapped in finish shows as specks.
Stain, if you chose one. Some floors are misted with water first, a step called water popping, which opens the grain for a deeper, more even color. Stain usually dries overnight.
Sealer and finish. A sealer or first coat goes on, then two or more coats of finish, with a light abrasion between coats so each bonds to the last. Busy homes often get a third coat.
Cure. You can walk on the floor before it is fully hard, and the finish keeps curing for days afterwards.
The finish you pick sets the pace of the last days. A water-based finish dries in two to three hours, so a sealer and two coats can go on in one day. Many oil-based finishes need about eight hours between coats, which usually means one coat a day. That difference alone can turn a three-day job into a five-day one.
Screen and Recoat, Step by Step
A screen and recoat runs through the same cleaning and coating steps as a refinish, minus the sanding, so it fits in a single day. Your floor can usually take socks that evening or the next morning, depending on the finish and the humidity.
A test spot. A little finish goes on in a closet or corner and is checked for adhesion before the whole floor is coated.
A deep clean. A cleaner made to strip everyday grime and residue goes over the floor, because anything left on it keeps the new coat from bonding.
Screening. A buffer with a fine abrasive screen or pad scuffs the whole floor to an even, dull haze. Nothing goes through to bare wood.
Vacuuming and tacking, until no dust is left.
One or two fresh coats of finish.
Chemical bonding systems can stand in for the buffer on some floors. Each is used as one maker's complete system, cleaner, bonding agent and finish together, and never mixed with another maker's products.
Water-Based, Oil-Based or Hardwax Oil Finish
For a light or natural color, a water-based finish keeps the wood looking close to the way it looks the day it is sanded. An oil-based finish warms it toward amber and needs longer between coats. A hardwax oil soaks into the wood for a soft, low-sheen look that you can touch up in spots, with more upkeep in return.
Finish | Color over time | Time between coats | Upkeep |
|---|---|---|---|
Two-part water-based | Stays clear | 2 to 3 hours | Recoat when traffic paths dull |
One-part water-based | Clear, may warm slightly | About 2 hours | Recoat when traffic paths dull |
Oil-based or oil-modified | Ambers and deepens | About 8 hours | Recoat when traffic paths dull |
Hardwax oil | Natural, low sheen | Often a single coat | Spot repairs, maintenance oil |
On durability the finishes are closer than their reputations. Oil-based polyurethane has the longer track record. The two-part water-based finishes, mixed with a hardener on site, are the ones sold for the heaviest traffic. Either kind, in two or three coats, protects a house well, so the choice usually turns on color, smell and schedule.
Smell is the other big difference. Water-based finishes have a mild odor, while oil-based finishes smell strongly for days and stay combustible until they dry. In strong island light, an oil-based finish also yellows a light floor more over time. That suits a warm, honey-toned oak and works against a pale or gray one.
Matte, Satin or Gloss
Matte and satin finishes hide scratches, dust and sand far better than gloss, so most busy homes choose one of the two. The difference comes from how much flattening agent is mixed into the finish, from almost none in a gloss to a lot in an extra-matte.
A glossy floor reflects the light coming through a lanai slider, and that glare shows every footprint and fine scratch. A satin floor keeps a soft glow, and a matte floor looks closest to bare wood.
Choose the sheen for the long run, because every later recoat should match it. A satin recoat over a floor you chose for its gloss changes the whole look of the room.
Changing the Color When You Refinish
Changing the color is one of the best reasons to refinish, because a full sanding takes the floor back to bare wood. From there you can go darker, lighter or back to the wood's natural color, within the limits of the species.
Oak takes stain evenly and is the easiest floor to change. Maple and birch have tight grain that can stain blotchy, so they are often finished natural or stained after a conditioner. Red oak's pink tones show through gray and pale stains, so a gray red-oak floor rarely matches a gray sample on white oak. Oily tropical species can resist stain and some finishes, so they always get a test patch first.
Pick the color on your own floor, not a sample board. Stain samples brushed onto the sanded floor, left to dry and seen in morning and afternoon light, show what your wood will actually do. Water popping darkens and evens a stain on some floors, so that choice is made before the samples go on.
Strong sun changes wood over time. Light breaks down the compounds that give wood its color, so some species lighten and others, like cherry, darken, and the change can go deeper than a sanding reaches. In a house with big windows, a color close to the wood's own tone ages more gracefully than a very dark or very pale stain.
If only some rooms are being done, the new color has to meet the old floor somewhere. Put that break where a door or threshold already divides the rooms, because a fresh natural finish beside an older amber one will look different.
When You Can Walk on It, Move Furniture Back and Lay Rugs
Whatever the finish, you can usually walk on a refinished floor in socks the next day and move furniture back after two or three days. Rugs wait longer, about a week on a water-based finish and about a month on an oil-based one. The label on the can sets the exact times, and humid air stretches every one of them.
Finish | Socks | Furniture back | Rugs |
|---|---|---|---|
Two-part water-based | After about 24 hours | After about 3 days | Once fully cured |
One-part water-based | After about 24 hours | After about 3 days | After about 7 days |
Oil-based or oil-modified | Overnight | After about 2 days | After about 30 days |
Dry and cured are different stages. A finish feels dry within hours but keeps hardening for days to weeks, and until then it scuffs easily. A rug and its pad cover the finish while it is still curing, and a furniture leg left in one spot can press a mark into it, so those two wait longest.
A hardwax oil is ready for light use after a day or a day and a half. Keep water off it for about five days, until the oil has cured.
For the first week, clean with a dry microfiber mop only and skip damp mopping. Lift furniture into place rather than sliding it, with felt pads on every leg first. Pets can walk on the floor once you can, as long as their nails are trimmed, but a dog racing across a soft new finish leaves marks it would not leave a month later. On a muggy day in a closed-up house every one of these times runs long, so keep the air conditioning or a dehumidifier running while the finish cures.
Staying Home While Your Floors Are Refinished
You can usually stay home while your floors are refinished, as long as the work rooms leave you a way through the house. With a water-based finish that is the easy choice. With an oil-based finish, plan to sleep elsewhere for a night or two, because the smell is strong and lingers.
Sanding throws off fine dust, and dust containment systems pull most of it into a vacuum attached to the sander, though no sanding is completely dust-free. The work rooms are sealed with plastic and the rest of the house closed off, and nearby rooms may still need a light dusting afterwards.
Fresh air is the answer to finish vapors, along with whatever the label on the can asks for. Babies, anyone with asthma, and pets are happier away on sanding day and on the day the finish goes on.
If everyone has to stay, the work can go in sections, one group of rooms and then the next. You need a way to the bedrooms and a bathroom that does not cross wet finish. A rental or second home is the easiest case: schedule the work between guests and leave the house closed, with the air conditioning on, until the finish cures.
Refinishing Floors in a Humid Hawaii Home
Humid air slows every floor finish, so refinishing floors in a Hawaii home runs toward the slow end of the label's times. The fix is a closed house with the air conditioning or a dehumidifier running while the coats go on and for a few days after.
The label on a finish gives dry times for a mild, fairly dry room, typically 65 to 80 F and 40 to 60 percent humidity. A coastal Kona house with its windows open often sits well above that humidity, and upcountry homes in Waimea and Volcano add cool, damp nights. Both stretch the time between coats and the wait before you can walk on the floor.
Open windows help with the smell and hurt the drying. They let in humid air, along with vog and the fine dust of a dry afternoon, which settle on wet finish. A water-based finish is the easier one to schedule around humid weather, since its coats go on hours apart.
Moisture also matters before the sander comes out. On a raised floor over a damp crawlspace, boards can hold more moisture underneath than on top even when they look flat, so the wood is checked with a moisture meter before anyone sands.
If you can choose the timing, choose a dry spell. On the Kona side the rainy months are the summer ones, with clouds and showers building most afternoons, so finish coats go on best in the morning.
Stairs, Parquet and Other Floors That Need Hand Work
Stairs, parquet and other patterned floors are refinished like any wood floor, but most of the sanding is done with small machines and by hand. That makes them slower and more expensive for their size, while the finish choices stay the same as for the rest of the house.
Refinishing Hardwood Stairs
Refinishing hardwood stairs means sanding each tread with a small sander and by hand, because a big floor sander does not fit on a step. The nosing, the rounded front edge, gets the most attention, since it wears first and shows it.
Risers are sanded and finished to match the treads, or painted. A painted riser usually stays painted, since old paint is hard to get out of the grain. The stain and finish match the floor at the top and bottom, so the stair reads as part of it.
Stairs are the hardest part of a house to live without. If they are the only way to the bedrooms, the finish can go on every other step first, with the rest done once those are dry. The other way is to do the stair on a day when the household can stay downstairs.
Parquet, Herringbone and Other Patterned Floors
Parquet, herringbone and other patterned floors have grain running in several directions, so they are sanded with machines that cut evenly across the grain. They are finished with finer abrasives, because a scratch that runs with one block runs across the next.
Loose blocks are reglued before sanding, and missing ones are replaced to match, which shows more on a pattern than on planks. A dark stain also shows a pattern's sanding marks more than a natural finish does, so patterned floors are often kept close to their natural color.
When a Refinished Floor Does Not Look Right
When a refinished floor does not look right, the flaw usually sits in the top coat and comes out with a light abrasion and one more coat. Marks in the wood itself, like waves from the sander or blotchy stain, mean sanding that area again.
What you see | Likely cause | The fix |
|---|---|---|
Small bubbles in the finish | Finish rolled on too fast or thick | Abrade and recoat |
Specks and grit in the finish | Dust settling on wet finish | Abrade, tack, recoat |
Fine waves or chatter marks | The sander paused or bounced | Resand the area, refinish |
Swirls under the stain | Edger or buffer marks left | Resand, buff, restain |
Blotchy stain | Species or uneven sanding | Resand; condition or go natural |
Recoat peeling off | Wax, polish or residue underneath | Full sanding |
Finish still tacky after a day | Humid, cool air or thick coats | Dry the air, wait, recheck |
Boards higher in the middle | Sanded while cupped | Let it settle, then resand |
A finish that stays tacky after a day usually needs drier air. Close the house, run the air conditioning or a dehumidifier, and give it another day before deciding anything.
Flaws that come from the work itself are what a labor warranty is for, and our refinishing work carries one.
Keeping a Refinished Floor Looking New
Keeping a refinished floor looking new is mostly about grit, because sand and dirt underfoot are what wear a finish down. Mats at every outside door and a dry microfiber mop do more for the floor than any cleaner.
For cleaning, use a cleaner made for finished floors on a damp, well-wrung mop, never a wet one. The Shaw hard surface cleaner and microfiber mop kit we sell are safe on finished hardwood, and the mop's dry pad picks up the fine sand that blows in from the lanai.
Skip wax, oil soaps, steam mops and shine products. Besides dulling the finish, they leave the residue that keeps the next recoat from bonding.
Felt pads under furniture, trimmed pet nails, shades on the strongest afternoon sun and rugs moved now and then keep the floor wearing evenly. When the traffic paths start to dull, a recoat keeps the wear in the finish and out of the wood.
Having Your Floors Refinished by Our Crew
At Floor Expert LLC, we sand, stain and finish hardwood floors, and recoat the ones that only need fresh finish. We refinish solid, engineered and parquet floors and stairs. When boards are stained, gouged, burned or water-damaged, we replace them with boards matched to the original in species, size and the color the floor has aged to.
Our team holds NWFA certifications, among them the Sand and Finish certification, which covers sanding, flattening, stains, finishes, recoating, repairs and board replacement. Our NWFA-certified inspector is trained to identify wood flooring problems, which helps on a floor with cupping or stains whose cause is not obvious.
We are a locally owned, family-run flooring company with a showroom on Maiau Street in Kailua-Kona, and we work in homes from Holualoa and Kealakekua up to Waikoloa and Waimea and around to Volcano. We look at your floor and price the work in person at no charge, after checking the wood, the finish and any problem spots.
Questions People Ask About Refinishing Hardwood Floors
Is Refinishing Hardwood Floors Worth It?
Yes, refinishing is worth it when the floor still has a sanding left in it. Refinishing 600 square feet runs about $3,450 to $4,160 in the national figures, while new engineered hardwood for the same rooms runs about $4,480 to $7,210 before the old floor comes out.
Replacing a floor also means tear-out, subfloor work and days of acclimation before new boards go down. A refinish keeps a floor that has already settled into the house, and the job takes days.
Can I Refinish Hardwood Floors Myself?
Yes, you can refinish a hardwood floor yourself, but a full sanding is the hardest flooring job to do well. Rental drum sanders take wood off fast, a pause in one spot leaves a dip that shows under the finish, and an edger can gouge the boards along the walls.
A screen and recoat is the friendlier job to take on yourself. Leave an engineered floor to a professional, since one deep pass can go through its top layer; Hallmark Floors warns against heavy drum sanders on engineered floors altogether.
Can You Refinish Just One Room or One Section?
Yes, one room can be refinished on its own when a doorway or threshold separates it from the rest. In an open plan the whole connected floor is usually done together, because a fresh finish beside an older one shows a line, in color and in sheen.
A damaged section can be blended only up to a natural break, such as the board ends at a doorway. Anywhere else, a patch of new finish in the middle of a room shows from across it.
How Often Hardwood Floors Need Refinishing
Most hardwood floors need a recoat every few years in the busiest rooms and a full refinishing about once a decade, or whenever wear reaches the wood. Recoating before the finish wears through is what stretches the time between sandings.
Watch the traffic paths, the spot in front of the kitchen sink and the floor inside the lanai door. When those dull while the rest of the floor still has its sheen, the floor is ready for a recoat.
Can a Painted or Waxed Wood Floor Be Refinished?
Yes, a painted or waxed wood floor can be refinished, but only with a full sanding. Wax has to come off completely, since finish will not stick over it, and paint takes extra sanding to cut through.
In a home built before 1978, test the paint for lead before anyone sands it. Under EPA rules, anyone paid to disturb painted surfaces in those homes has to follow lead-safe practices, and the agency recommends hiring a lead-safe certified contractor.
Find Out What Your Floor Needs
The surest way to know whether your floor needs a one-day recoat or a full sanding, and whether it has the wood for one, is to have it looked at in person. Book a visit, and we will come out, check the finish, the wood and any problem spots, and price the recoat or refinish your floor needs.


